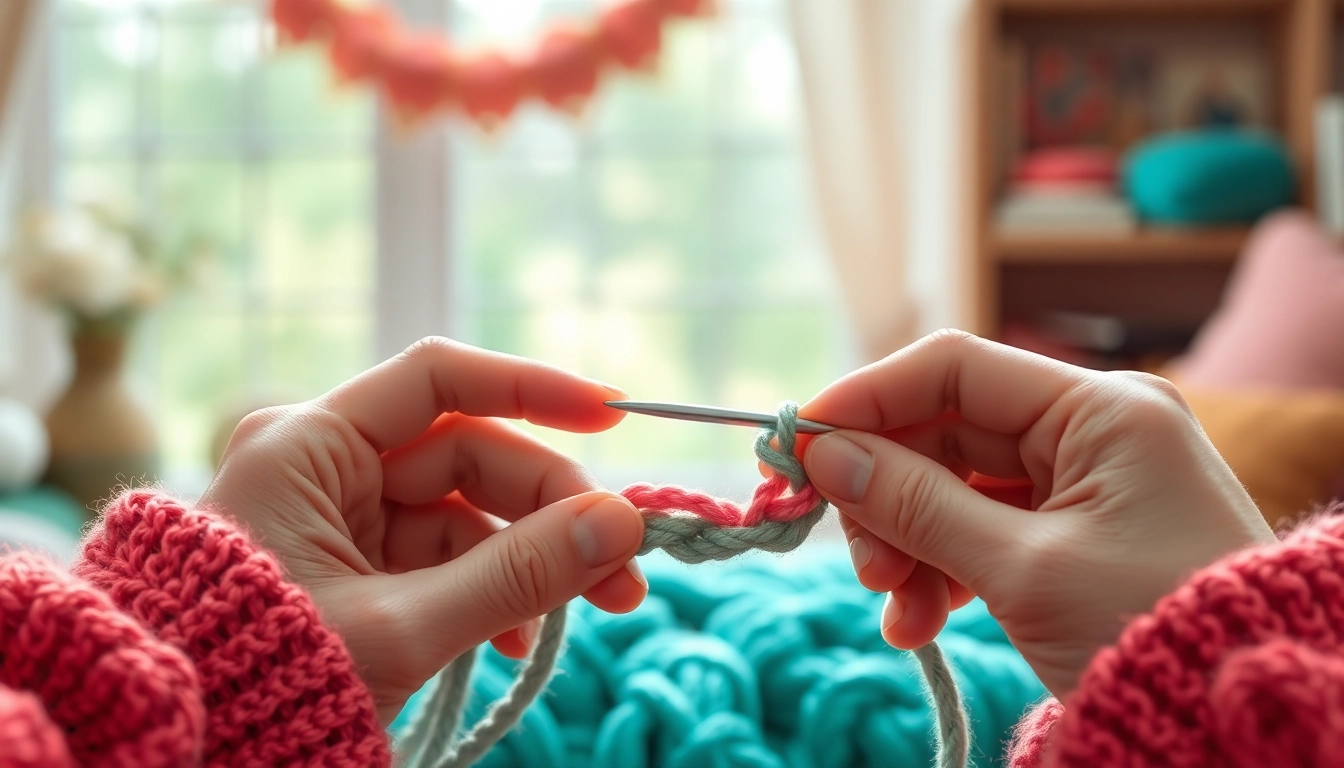
If you’re just getting started with crochet, mastering the kcrochet slip knot is your very first step—and arguably, one of the most crucial. The slip knot is the foundation of every crochet project. Without it, you can’t properly attach your yarn to the hook or begin your chain stitches. Though it’s a simple loop, creating it correctly ensures your stitches stay tight, consistent, and easy to work with.
In this guide, we’ll walk you through five brilliant tips for creating the kcrochet slip knot with confidence. These practical strategies will help you avoid common mistakes and set yourself up for success on every project.
Why the Kcrochet Slip Knot Matters
Before we dive into the tips, it’s important to understand the role of the kcrochet slip knot in your crafting journey. This knot isn’t just about starting your crochet chain—it influences the tension, neatness, and control of your entire project. Getting this knot right from the beginning ensures fewer unraveling issues, easier hook insertion, and a smoother crocheting experience overall.
Tip 1: Understand the Mechanics of the Kcrochet Slip Knot
To master the kcrochet slip knot, start by understanding how it works. A slip knot is a loop that tightens when you pull the working yarn and loosens when you tug the tail. This makes it adjustable and easy to position on your crochet hook.
How to form it properly:
- Make a loop with your yarn, ensuring the tail end crosses under the working yarn.
- Insert your fingers through the loop, grab the working yarn, and pull it through.
- Place the new loop on your crochet hook and tighten by pulling the working yarn.
Practice this several times until it feels natural. Once you’re comfortable, creating a consistent and secure kcrochet slip knot will become second nature.
Tip 2: Choose the Right Yarn and Hook Combination
Your choice of yarn and crochet hook can greatly affect how your kcrochet slip knot turns out. Beginners often struggle with tension issues, which can make the knot either too tight or too loose.
Tip for success: Use a medium-weight yarn (like worsted weight) with a hook size recommended on the yarn label. This gives you more control and visibility, helping you see each step of the slip knot clearly.
Starting with the right tools also reduces frustration and helps you build confidence in your crocheting skills right from the start.
Tip 3: Keep Consistent Tension for Better Control
Tension refers to how tightly or loosely you hold your yarn as you crochet. When forming the kcrochet slip knot, your tension determines how snug the knot is on the hook.
Pro Tip: Use your dominant hand to create the knot while the non-dominant hand holds the yarn steady. Avoid pulling the loop too tightly around the hook—it should slide smoothly without resistance.
By practicing consistent tension during the slip knot, you’re laying the groundwork for better tension throughout your entire project, which is essential for achieving uniform stitches.
Tip 4: Avoid Common Mistakes That Lead to Slippage
New crocheters often make a few classic mistakes when creating the kcrochet slip knot. These can cause the knot to unravel or slip off the hook unexpectedly.
Mistakes to avoid:
- Pulling the tail instead of the working yarn to tighten the knot
- Twisting the yarn in the wrong direction when forming the loop
- Leaving too much slack, causing the knot to be unstable
To prevent these issues, always pull the working yarn (not the tail) to adjust the loop on your hook. This keeps the slip knot stable and ready for your starting chain.
Tip 5: Practice with Repetition to Build Muscle Memory
Like any new skill, mastering the kcrochet slip knot requires practice. The more you repeat the motion, the more natural it becomes.
Suggested routine for practice:
- Set a timer for 10 minutes
- Create and undo the slip knot repeatedly
- Focus on speed, consistency, and smoothness
Doing this every day for a week will drastically improve your confidence and accuracy with the kcrochet slip knot, making it feel effortless when you start a real project.
Additional Pro Tips for Better Crochet Starts
- Mark your tail and working yarn when practicing, so you don’t confuse them.
- Use brightly colored yarn for early practice—it helps you see each movement clearly.
- Watch slow-motion videos or use mirrors to better understand hand placement and tension.
Small details like these enhance your control and comprehension, especially as a beginner working to improve their crochet technique.
Final Thoughts: Start Strong with Every Stitch
The kcrochet slip knot might seem like a tiny detail in your crochet journey, but it lays the groundwork for every stitch you make. With these five brilliant tips—understanding the mechanics, choosing the right tools, mastering tension, avoiding mistakes, and building muscle memory—you’re well on your way to becoming a confident crocheter.
Remember, every expert was once a beginner. Start small, practice often, and enjoy the satisfaction that comes from creating something beautiful with your hands.
Frequently Asked Questions (FAQ)
Q1: How tight should my kcrochet slip knot be on the hook?
Your slip knot should be snug but not tight. It should slide easily along the hook without slipping off or requiring force to move.
Q2: Can I reuse a slip knot after taking it off the hook?
No, once a slip knot has been removed and pulled, it’s better to make a new one. This ensures the knot maintains proper tension and structure.
Q3: Why does my kcrochet slip knot keep unraveling?
This usually happens if you pull the tail instead of the working yarn. Always tighten and adjust the knot using the working yarn to keep it stable. We cover everything in one place—don’t miss out on the latest insights.