Understanding Mac Screenshot Basics
When it comes to capturing visuals on your computer screen, knowing how to take a screenshot is an essential skill, especially on a Mac. This handy feature can help users save important information, create tutorials, and share moments from their online experience. In this comprehensive guide, we will delve into the how to screenshot on a computer Mac, exploring methods, tips, and troubleshooting techniques to enhance your screenshot-taking abilities.
What is a Screenshot on a Mac?
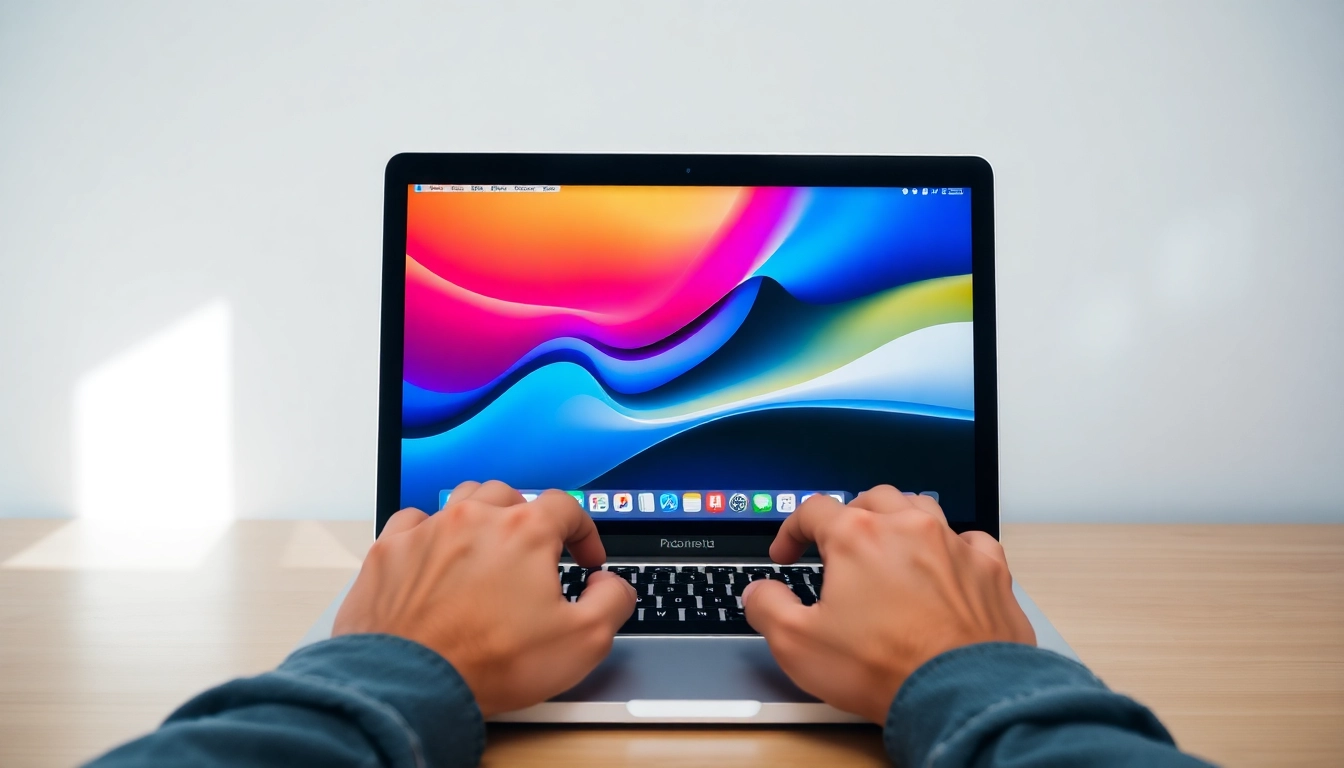
A screenshot, or screen capture, is an image taken of what is currently displayed on your screen. When you take a screenshot on a Mac, it’s instantly saved as an image file, allowing you to easily store and share those captured visuals. This functionality is built into macOS and provides several options for different screenshot types, whether you want the entire screen, a selected window, or a portion of the screen.
Why Use Screenshots?
There are numerous reasons to use screenshots on a Mac:
- Documentation: Screenshots are helpful for creating guides or documenting issues with visual aids.
- Sharing Information: Capturing information from websites or applications ensures that you can quickly share necessary details without miscommunication.
- Creative Projects: Designers and content creators often use screenshots to incorporate elements from various sources into their projects.
- Quick Notes: Taking a screenshot can be a faster alternative to jotting down notes, especially for visual-heavy content.
Common Uses for Mac Screenshots
Mac screenshots are versatile in their applications. Here are some common uses:
- Tutorials: Capture steps in software processes or online navigation.
- Bug Reporting: Document software problems with screenshots showing error messages or unexpected behavior.
- Social Media: Share quotes or images quickly without needing to link back to the content.
- Remote Work: Share visual updates or feedback with team members seamlessly.
How to Screenshot on a Computer Mac: Key Shortcuts
MacOS provides users with a variety of keyboard shortcuts to capture screenshots efficiently. Here’s how you can utilize these shortcuts effectively for different capture scenarios.
Capturing Your Entire Screen
The simplest way to capture your entire screen on a Mac is by using the following keyboard shortcut:
Command (⌘) + Shift + 3When you press these keys together, you will hear a shutter sound, and an image file of your entire screen will be saved automatically to your desktop. If you’re running macOS Mojave or later, a thumbnail may appear in the bottom-right corner, allowing you to edit the screenshot directly before saving it.
Taking Partial Screenshots
If you want to capture only a portion of your screen, you can use this shortcut:
Command (⌘) + Shift + 4After pressing these keys, your cursor will turn into a crosshair. Click and drag to select the area you want to capture. Upon releasing the mouse button, the screenshot will automatically save to your desktop.
Using the Screenshot App on Mac
For those who prefer a graphic interface, macOS includes a dedicated Screenshot app. To open it, you can press:
Command (⌘) + Shift + 5This will bring up a toolbar at the bottom of your screen with various options:
- Capture the entire screen
- Capture a selected window
- Capture a specific portion of the screen
- Record your screen
Once you make a selection, you will also have options to set a timer, choose where to save the file, and other customization options.
Editing and Sharing Your Screenshots
After taking screenshots on your Mac, editing and sharing them can enhance their effectiveness. Let’s explore how you can modify and circulate your captures.
Basic Editing Tools on macOS
Once you take a screenshot, especially in newer versions of macOS, you can edit right away. If the thumbnail appears, click on it to open the editing menu. From here, you can:
- Annotate: Add text, arrows, or shapes to your images using the drawing tools.
- Crop: Trim away unnecessary parts of the screenshot.
- Rotate: Change the orientation of your image if necessary.
For more complex edits, you can always open your screenshot in Preview or other editing software like Photoshop for advanced features such as layers and filters.
Sharing Screenshots via Email and Social Media
To share your screenshots, you simply need to locate the saved files on your desktop (unless you’ve specified a different save location). From here, you can:
- Attach Images: Simply attach the image to an email using your email client.
- Drag and Drop: Drag the image file into a social media post or message.
- Use Sharing Options: With the built-in sharing options in macOS, you can directly share screenshots via AirDrop and other applications.
Saving Screenshots in Different Formats
By default, screenshots on a Mac are saved as PNG files. However, you may want to save them in other formats like JPEG or PDF. To adjust this setting, you can use the Terminal app:
defaults write com.apple.screencapture type jpgReplace “jpg” with “pdf,” “tiff,” or “gif,” as needed. After running the command, use the following to refresh the settings:
killall SystemUIServerThis allows you to save your screenshots in the desired format moving forward.
Troubleshooting Common Screenshot Issues on Mac
While taking screenshots on a Mac is generally straightforward, users may encounter issues. Here’s how to troubleshoot common problems.
Screenshots Not Saving: What to Do
If your screenshots are not saving, the issue might be related to permission settings or storage constraints. Here are some steps to resolve this:
- Check Save Location: Ensure you’re saving to a location that is accessible. You can change where screenshots store by going to the Screenshot app settings.
- Disk Space: Verify that your disk isn’t full. Freeing up space might resolve any saving issues.
- Restart Your Mac: Sometimes a simple restart can clear out glitches causing problems with the screenshot function.
Shortcut Keys Not Working
If your screenshot keyboard shortcuts are unresponsive, check the following:
- System Preferences: Ensure the shortcuts haven’t been modified in System Preferences under Keyboard > Shortcuts.
- Conflicts: Other applications or keyboard mapping tools may interfere with the default shortcuts, so temporarily disable them to troubleshoot.
- Reset NVRAM: For persistent problems, resetting the NVRAM can sometimes restore functionality.
Alternative Screenshot Software Options
If the built-in tools are insufficient, many third-party applications can enhance your screenshot-taking experience:
- Snagit: Offers advanced editing features and customizable options for screenshots and video captures.
- Skitch: Excellent for annotating screenshots with a user-friendly interface.
- Lightshot: A lightweight application that provides instant editing and sharing capabilities.
Advanced Tips for Screenshots on a Mac
For power users, applying advanced techniques can maximize efficiency when taking screenshots on a Mac.
Using Timed Screenshots for Better Precision
Timed screenshots can be valuable for capturing menus or preparing for actions that require time to set up. Use the Screenshot app and select the timer option. You can choose to delay your capture by either 5 or 10 seconds, providing a window to set up your screen exactly how you want.
Keyboard Shortcuts for Quick Access
Remembering keyboard shortcuts for screenshots can speed up your workflow dramatically. Here’s a quick reference:
Command (⌘) + Shift + 3– Full screenCommand (⌘) + Shift + 4– Selected portionCommand (⌘) + Shift + 5– Screenshot appCommand (⌘) + Control + Shift + 3– Copy full screen to clipboardCommand (⌘) + Control + Shift + 4– Copy selected area to clipboard
Integrating Screenshots into Your Workflow
Screenshots can be a powerful part of your productivity toolkit. To integrate them smoothly into your workflow:
- Create Templates: Use your screenshots to create templates for reports or presentations, which can save time in future projects.
- Organize Regular Backups: Store your screenshots in organized folders or utilize cloud storage to ensure easy access.
- Utilize Tags or Comments: If specific screenshots describe tasks or processes, adding comments can enhance their usefulness.
By understanding how to effectively capture, edit, and share screenshots, you can enhance your communication and productivity across various tasks on your Mac. With these skills, you will be well-prepared to navigate the digital landscape while documenting and sharing valuable visual information effortlessly.